
I had the opportunity to review a new Leisure Arts title by Karen McKenna, Formal Jewelry. (Full disclosure: I also write for Leisure Arts, and Karen recently reviewed my Tunisian Shawls book; you can see that review here.)
I like crocheting with beads. One of the HGTV "Uncommon Threads" episodes I was on with my two crochet pals Julianne and Naomi was "The Need to Bead." We demonstrated a beaded wrap, a bracelet, and a round container. Several of the patterns in my private line are beaded shawls. I'm always glad to see people using beads creatively in crochet projects.

The book has twelve projects, all rated Easy, and will let you adorn yourself from head to toe! I mean that literally: there's a headband, necklaces, bracelets, a garter, and barefoot sandals. No earrings, though. Detailed technique instructions are included, as is information about supplies. Karen uses the pre-stringing method for all of the projects. (There is another way to incorporate beads by actually putting the hook through each bead and pulling the thread through, but that's a lot more time-consuming and requires removing and replacing the hook every time you want to add a bead.)
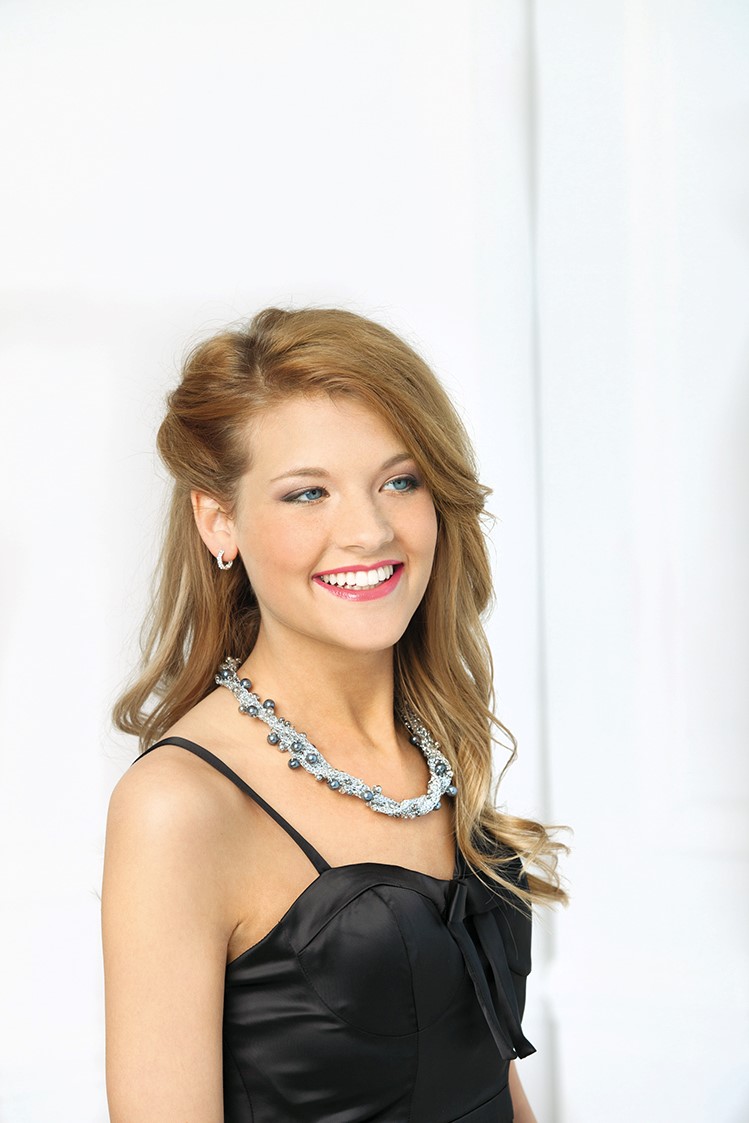
It was fun to browse through the pages and think about special occasions for these projects. I can definitely picture them at a wedding or prom. Wouldn't it be nice for a bride and her bridesmaids to get together and make their own jewelry?
Some of the projects have instructions for multiple sizes. It's very helpful that each size is color-coded, minimizing the possibility that a crocheter will read the wrong line somewhere in the middle.
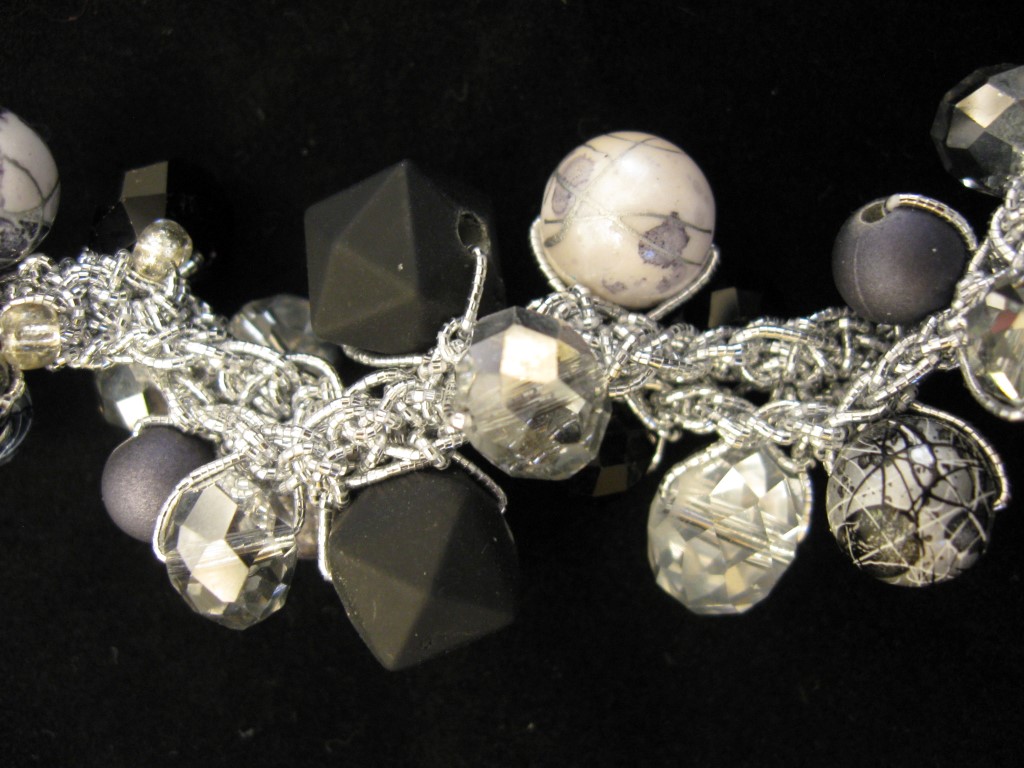
I chose the "Sparkle Necklace" for my test project.
The colors and sizes of the beads appealed to me. My local JoAnn's didn't have exactly what was specified in the pattern, so I bought a variety of beads to get close to what Karen's finished project looked like.

The instructions were clear and understandable. Some of the beads didn't have large enough holes to fit onto the elastic. Rather than risk fraying the cord by forcing the beads on, I omitted those. Information about the size or inner diameter of the beads, or the name of the specific "variety pack" used in the sample, would be a good addition to the supplies list.
Video instructions provided by Leisure Arts were helpful. It had been so long since I did single crochet with beads that I couldn't remember whether to snug the bead up before the stitch or after the first part of it was complete. Good to refresh my memory on that.
My one question about the pattern as written is how to get a long strand of cord at each end. If you start with a chain, Row 1 and all odd-numbered rows work back toward the initial tail. If you end after Row 5, the final tail will be on the same end of the necklace as the starting tail. That doesn't leave you with a long tail on each end for securing the clasp. Have I misunderstood something?
The beads I chose were probably chunkier and heavier than the ones Karen used. Two beaded rows were enough for me to get the look I wanted.

I'm very happy with the way my Sparkle Necklace came out! As you can tell, due to my bead choice my finished version isn't nearly as tailored and formal as the one in the book, but it suits my taste and lifestyle (do I actually have one of those?) perfectly. I'm going to try the headband next.

I recommend this book to anyone who likes to crochet and wants to try some fun projects that are easy to make and fun to wear. Most of the projects are one-size-fits-all, which makes them ideal for gift-giving. If you have a special occasion coming up, consider making your own jewelry to dress up your look.
The models are lovely, and the photographs throughout the book are inspiring. I would have liked seeing a view of the back of one of the necklaces; the clasps aren't shown in any of the pictures.
Congratulations to Karen on this new publication. She has also designed for Cascade Yarns, Windy Valley Muskox, and Red Heart, and her work has appeared in Crochet!, Crochet World, and Crochet 123. She is an Associate Professional member of the Crochet Guild of America.